Yogurt Chicken #1

1 chicken breast, cut lengthwise into strips
1 cup plain yogurt (home made is best)
1/2 box Chicken In a Biscuit crackers
1/2 cup Parmesan cheese
2 tablespoons tarragon or marjoram
1 cup sweet butter

Clean the chicken and put into a plastic ziploc bag. Pour yogurt over chicken and refrigerate for at least two hours. You may optionally salt and pepper the chicken before adding to the bag. It’s your only chance to season the meat.

Combine the crackers, cheese, and herbs into coarse crumbs. I use a small food processor.

Melt half of the butter and pour into bottom of a baking dish.

Dredge the chicken in the breadcrumb mixture and set into buttered baking dish. Pour remaining butter over chicken. Bake for 35-45 minutes in a 350 degree oven until golden brown.

I didn’t get a decent photograph of the final product this time. I am planning on making this again this week, so maybe better luck?


Homemade Yogurt and Yogurt Cheese

With one of the gift cards I received this holiday, I purchased a yogurt maker. I had my eye on one for several months, but when I finally went to make my purchase the price kept climbing higher and higher. I had to re-evaluate and I’m so glad I did.

The traditional way of making yogurt at home involves sterilizing a set of glass cups and lids, cooking the milk to kill the bad bacteria, then adding back the good. Let the milk cool, then add it to the cups, then cook for a half day. This was the way I thought yogurt had to be made at home.

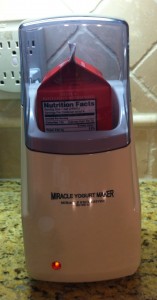
May I introduce the Miracle Yogurt Maker. A Miracle Exclusives exclusive.

The genius behind this method is that you start with a fresh, unopened liter (quart) of milk, soy milk, half-and-half or goats milk. You don’t have to sterilize the milk because you assume that unopened it stays clean. The yogurt cooks in the milk container, so you skip the sterilization steps.

You do have to open the milk container to add a yogurt starter. You have choices to make before you inoculate. If you have 50 ml (10 teaspoons) of yogurt from the previous batch and that batch is plain (unflavored) then you can add it to the new milk  container and shake.

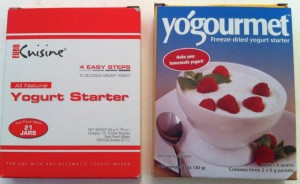
If you don’t have leftovers or it has been flavored (or sweetened), then you can use a commercial yogurt starter. You will only need 5 grams (one packet) of starter. They are all pretty much the same. They all include the three bacteria that do all the work: L bulgaricus , S thermophilus, L acidophilus. The brands you encounter may vary with the amounts of powdered milk, sucrose, and ascorbic acid (Vitamin C). Optionally, you can buy a small container of plain yogurt at the store and add it to the milk.

Here are two brands I have tried. Honestly, I did not find them any different, except for price.


For my first batch I used regular whole (pasteurized) milk, the kind you get at your local grocery store. I cooked it for 14 hours and it was quite delicious. I used half of it as a marinade and the other half I had over a couple of small bowls of granola.

I used 50 ml of that batch to start the second. I wanted to try to create something a little thicker. I wanted to spoon it out, not pour. I cooked it for 20 hours. It did come out a bit thicker, tremendous. I used half of it on granola and the other half in my first cheese experiment.

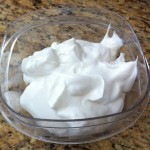
Cheese? Along with my Miracle Yogurt maker, I also bought (separately) a yogurt cheese maker. It’s a plastic box with a stainless steel strainer suspended within. I added the yogurt and let the whey fall out (in the refrigerator). What was left was thicker than sour cream and twice as creamy, almost cream cheese. You can do the same with a double layer piece of cheesecloth. 


I admit at this point, I was hooked. I used yogurt from batch two to make batch three (the grandchildren). This process can repeat 10 to 15 times before you need a new packet of starter. This time, however, I scraped out the innards of one whole vanilla bean and added it to the milk before cooking. Fourty-eight hours later I served my home-made vanilla yogurt with granola for Christmas brunch.

When I did a search for ‘plain yogurt’ on food.com, I found over six thousand recipes.

On my list of things to make: Tzatziki sauce, frozen yogurt, cheesecake(s)…

I give it five out of five stars. Best $40 spent.


Inari (Sushi) – Inarizushi

I’m not the biggest fan of sushi. I do prefer my fish cooked. But 20 years ago, I was introduced to Inari. Inari is only (only!) rice mixed with rice vinegar and wrapped in a envelope of fried bean curd. Let me just say, if you’ve never had sushi, you should start here. Inari is the gateway sushi.

In the late nineties, I became friends with a Japanese exchange student that was working in the same hospital pharmacy. One day (at my request), she made the whole crew a big platter of home-made Inari. I was in heaven. She kindly wrote the recipe down, but I don’t read Japanese and never had an opportunity to make this delicious dish.

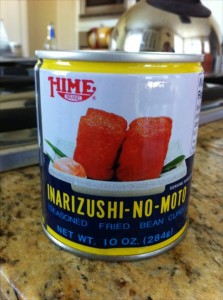
Flash forward to 2011… I’m in the grocery store, and in the ‘Asian’ isle I found this a can of this…

The can included a recipe, which I slightly modified.

2 cups rice – I use calrose and I cook it in a rice cooker.
1/3 cup rice vinegar
1 teaspoon Mirin
1 can of Inarizushi-no-moto

Drain the liquid from the can and try to get the friend bean curds out of the can without cutting yourself or damaging the delicate wrappers.

In a non-metallic bowl, mix the rice, vinegar and Mirin. It’s okay if it seems a little wet, it keeps the wraps moist the next day. Let this cool in the refrigerator for a while, maybe an hour.

The Inari wrappers remind me of English muffins. They’re not exactly pre-cut, but they do split easily with some care and attention. Open one Inari wrapper and hold it in your palm. Stuff 2-3 tablespoons of rice into the pouch and compress. Try not to squeeze the liquid out, just compress.

When the wrappers are about full (3/4) fold the edges over and place up-side-down.

I eat some of them immediately (duh). I like them with some hot wasabi and a little soy sauce.

Nom Nom!


Pork Chops and Rice

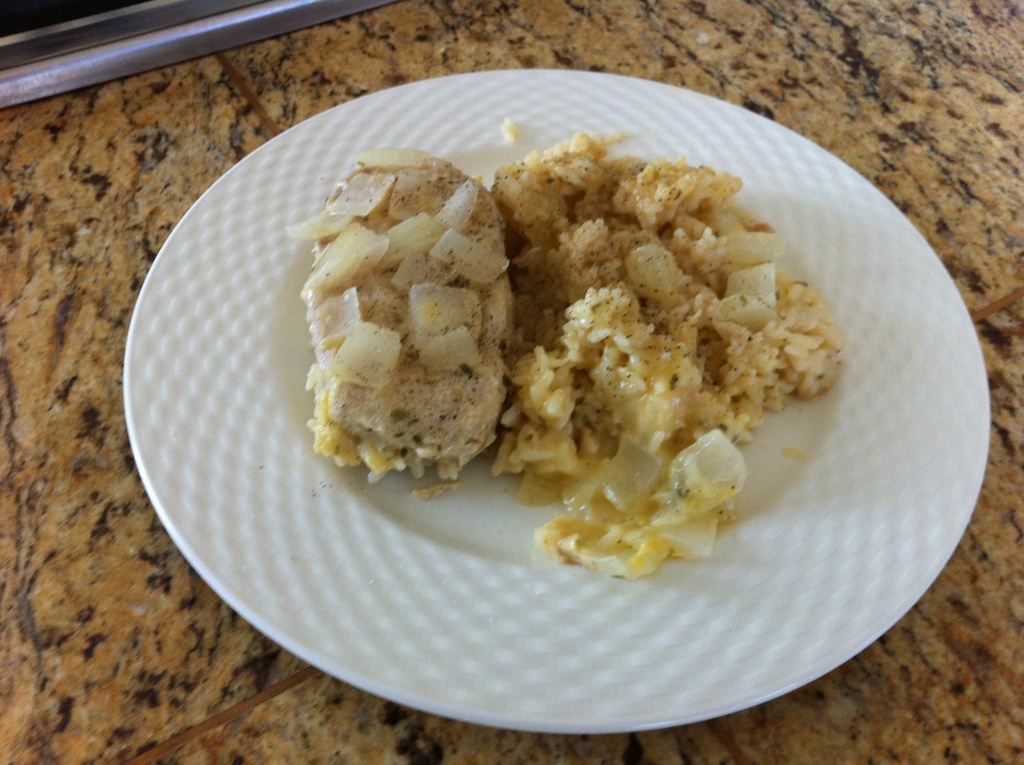
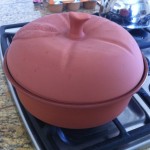
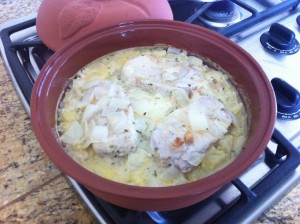
I prepared this dish in my apple ceramic baker. The lid has to be soaked for 30 minutes before baking. It keeps everything moist. The instructions included with the ceramic barker included a recipe for pork chops. The original recipe called for cream of mushroom soup, which I exchanged for cream of chicken.

3-4 large pork chops
1 1/2 cup parboiled rice
1 can cream of chicken soup
1 cup milk
1/2 onion, chopped
1/4 teaspoon salt
1/4 teaspoon pepper
1/4 teaspoon garlic powder
1/4 teaspoon tarragon

Make an even layer of rice in the bottom of the baker. Place pork chops on top. In mixing bowl, combine soup mix and milk. Add onions, salt, pepper, garlic powder, and tarragon. Pour mix over pork chops and rice. Cover with pre-soaked lid for one hour at 350 degrees.

Nom Nom!


Spring Cucumber Salad

I invented this salad with things I had around the kitchen. I’ve made it twice already.

I made this with Truvia, so if you don’t like Truvia then add 4 tablespoons of sugar.

Prep time: 15 minutes, plus 1 hour to marinate

Ingredients
1/2 cup carrots, julienned
1 large cucumber, sliced 1/8 inch thin
1 large red onion, sliced 1/8 inch thin
2 green onions, sliced on long diagonal
1 cup rice vinegar
1/4 cup Aji-Mirin sweet rice cooking seasoning
1 tablespoon dill
1 tablespoon and 1 teaspoon Truvia sweetener
1 tablespoon lemon juice
1/2 teaspoon salt
Fresh ground pepper to taste

Preparation
Prepare the carrot, cucumber, and purple onion on the mandolin slicer, set to 1/8 inch thin. Use the julienne setting for the carrots. Pre-cut carrots from the store can be used. Slice the green onion on a long diagonal. Place all vegetables in a non reactive mixing bowl.

In a small bowl. Mix the Truvia, dill, salt, and pepper. Add the rice vinegar, Aji-Mirin, and lemon juice to the bowl and mix. Pour the mix over the vegetables and combine with a slotted spoon. Cover with plastic wrap, removing as much air as you can.

Refrigerate for at least one hour, best over night. Swish the liquid through the vegetables as desired. Also great as a relish with frankfurters.


Chicken Tremendous

1 package onion soup mix
3/4 cup uncooked rice
salt to taste pepper to taste
1 cup cream of chicken soup mix diluted with water
4 chicken breasts

Mix first four ingredients. Pour into greased casserole dish. Arrange chicken over rice. Bake at 350* for 60 minutes. Add liquid as needed.


Pulled Pork

Pulled Pork is one of my favorites because it’s quick and easy to prepare and you can scale it up if you want to make a bunch. I always make this in my 5 quart slow cooker.

1 pound pork tenderloin
1 cup ketchup
2 tablespoons plus 1 and 1/2 teaspoons brown sugar
2 tablespoons plus 1 and 1/2 teaspoons cider vinegar
1 tablespoons plus 1 and 1/2 teaspoons Worcestershire sauce
1 tablespoon spicy brown mustard
1/4 teaspoon pepper

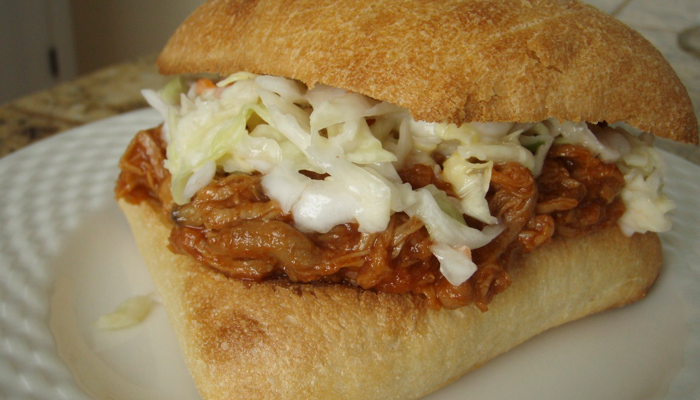
Combine the ketchup, brown sugar, vinegar, Worcestershire sauce, mustard and pepper. Pour over pork. Cover and cook 4-5 hours on low or until meat is tender. Remove meat and shred with two forks. Return to the slow cooker; heat through and set the slow cooker on ‘keep warm’.

I serve this over sliced toasted cibatta topped with cole slaw.


Flemish Beef Stew

This variation on beef stew turned out great. I made this dish last night and everyone had second helpings. That’s a good sign.

It’s not a stew in the traditional American style. The only vegetable is onion. I served it over buttered egg noodles (no-yokes) although the recipe didn’t call for it. My local grocery store didn’t have any Flemish (or Belgian) beer so I substituted a medium brown beer imported from England. I might experiment with a darker beer next time.
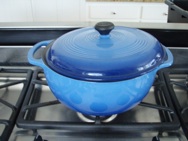
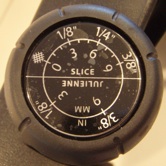
I cooked this in a cast iron enameled dutch oven. In my kitchen, I like to have all the ingredients prepared and measured before the cooktop even gets warm.

Thinly slice 1 very large onion. I use my mandolin(e) slicer to slice the onion into very evenly cut slices (circles). I set the dial to 4 (mm?), which is 1/6 inch.

Crush 3 to 4 garlic cloves.

2 1/4 pounds (1 kg) beef stew meat, cut into 1 1/2 inch (38 mm) pieces. The original recipe called for the more expensive tenderloin cut. I used the cheaper stew meat from my local grocer.

1/3 cup (80 ml) all-purpose flour.

1 quart (1 L) beef broth. I use the kind that comes in a box.

The original recipe calls for 1 cup Flemish beer. My local grocery
had nothing close, especially in single-bottles. I used the whole
bottle of the beer pictured to the right, 1 pint (475 ml).

1/4 cup (60 ml) tomato paste.

3 tablespoons fresh type, chopped.

2 tablespoons brown sugar, packed.

4 tablespoons fresh parsley, chopped.

1/2 pound (225 gm) bacon, cut into 1 inch size pieces.

Cook the bacon in the heavy pot until crisp, about 5 minutes. Transfer the bacon to some paper towels to drain. Keep the bacon renderings in the pot.

Sprinkle the beef with salt and pepper. Place the flour in a large bowl. Toss meat in flour, shaking off the excess. Reserve the remaining flour in the bowl.

Reheat the bacon renderings to medium-high and brown the beef. You should do this in two batches as to not crowd the pot. Cook until browned, stirring frequently, about 5 minutes each batch. Transfer the cooked meat to another bowl.

Add onion and garlic to the pot over medium-high heat and saute until tender, about 5 minutes. Add remaining flour and stir 1 minute.

Mix in broth, beer, tomato paste, 2 tablespoons of thyme, and the brown sugar. Reduce to medium and simmer until mixture thickens, scraping browned bits, about 15 – 25 minutes.

Add beef, 1 tablespoon thyme and 3 tablespoons parsley. Simmer until beef is cooked as desired, about five minutes for medium-rare.

After the stew has reduced by half (or more). Season with salt and pepper, to taste. Use good sea salt and fresh cracked pepper.

Serve over buttered egg noodles tossed in parsley. Top with bacon bits.

Chicken Enchiladas

Chicken Enchiladas

1 1/2 lb. Chicken, cooked
2 cans Cream of Chicken soup
8 ounces Sour Cream
1 small can green chilies
3/4 lb. Cheddar cheese, shredded
3/4 lb. Jack cheese, shredded
8 flour tortillas

Mix soup, sour cream, chilies and 1/2 of the cheeses. Divide this mixture in half and add chicken to one half. Fill tortillas with the chicken mixture. Spread bottom of pan with chicken-less mixture. Lay enchiladas in pan. Pour remaining mix over enchiladas, sprinkle with remaining cheeses. Bake for 20 to 30 minutes at 350* uncovered.